Read more at:
You don’t have to stick with a cloud storage service if your needs change. Maybe you were paying a subscription for more storage, and the provider has increased the price, and you want to find cheaper alternatives. It could be that you’ve moved from a Samsung phone or Windows PC to an iPhone or Mac computer, and you want to use iCloud since it’s deeply integrated into iOS and macOS.
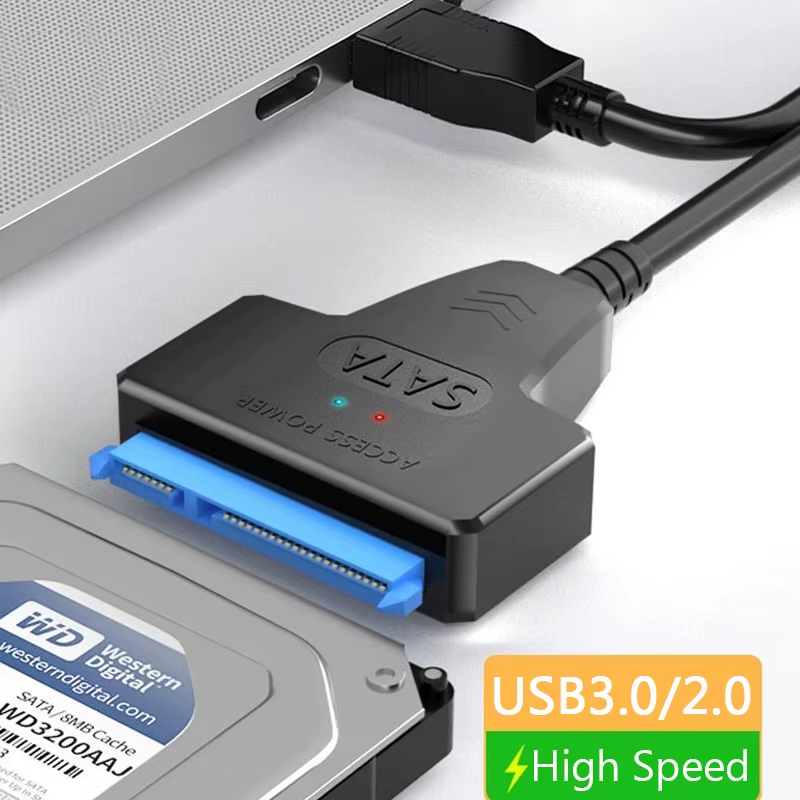
You may have also just seen that the other cloud storage service has better features than the one you’re currently using. To switch cloud storage services, you need to assess your storage needs, download the files and folders from the old cloud storage, and then upload them to the new one. For the second step, you might want to consider getting an external drive so you can use the 3-2-1-1-0 rule for data backups.
Once you’ve transferred over everything you need, don’t forget to wipe the cloud service of all the files. Unless you’re doing this as part of some multi-cloud setup, you don’t want files to linger on a cloud service you no longer plan on using. But don’t delete them right after you’ve moved the data. Take a few days to review that you really did move everything. If you can, test some files and see if they work as expected to ensure there was no corruption (it’s impractical to test everything if you have too many files).
Ensure there’s enough space on the new service
Ensuring that your next cloud storage service can hold all the data you want to transfer is an obvious, but still vital step. If you plan to stick with free plans, you’ll find that most cloud storage services offer a good amount of free space for light usage (a few documents, photos, and small backups). For instance, you get 15 GB free when using Google Drive (it’s shared with Gmail and Google Photos, though), while on iCloud or OneDrive you get 5 GB. Dropbox is even less, with 2 GB for their free plan. If you were using Google Drive extensively, you might not be able to transfer everything over if the other service’s free plan has less storage space — you might need to switch to a paid plan.
You also need to check if the paid plans are affordable before making the move. The good thing is that getting more storage on cloud services isn’t all that expensive unless you’ve got terabytes of data.
For instance, iCloud starts at $0.99 per month for 50 GB, while Google Drive and OneDrive start at $1.99 per month for 100 GB. Dropbox, on the other hand, starts at $11.99 when billed monthly for 2 TB of space, which might be overkill if you aren’t doing daily backups of multiple devices. Once you ensure that you have the correct amount of storage space, it’s time to start moving files.
Download the files you need to local storage first
Downloading the files from cloud storage locally consumes extra bandwidth, but it’s a necessary staging area, presuming of course that you don’t have copies on your local storage somewhere already. If you only want to transfer specific items, you can download them one by one. For instance, in Google Drive, click My Drive in the left-side menu, hold Ctrl on Windows or Command on Mac, select the items you want, and click Download. In OneDrive, select My Files in the left-side menu, click the checkbox next to the item, and then click Download. If you want to transfer everything, you can just select it all and then download it. In Google Drive, press Ctrl + A on Windows or Command + A on a Mac in My Files. For Google Drive users, there’s also Google Takeout. Here’s how to use it:
-
On Google Takeout, sign in to your Google account.
-
Click Deselect All in the Create a New Export section.
-
Tick Drive.
-
Click Next Step > Create Export.
-
You’ll get an email once your export is ready.
On OneDrive, for example, click the master checkbox next to the Name column to select everything, uncheck Personal Vault (otherwise, the Download option won’t show), and then click Download in the top menu. This can take a long time to complete, so if the download is unusually slow, there are things you can do to improve Wi-Fi speed. With the exception of Google Takeout, the steps for other cloud storage services should be similar to Google Drive and OneDrive.
Uploading files directly to the new cloud service
Now that you have everything important exported, you can start moving files to the new cloud service. By now you’ve ideally created an account and paid for a subscription if you need extra storage. Now you just need to open the home folder.
For example, this is My Drive in Google Drive, My files in OneDrive, and All files in Dropbox. Afterward, go into the folder where you downloaded the files on your computer, select everything with Ctrl + A on Windows or Command + A on a Mac, and then drag it into the browser so you can upload it into the home folder.
That’s the quick and dirty way to do it, but you can also upload the files using the cloud service’s menus if you want a bit of precision. For instance, if you’re uploading to Google Drive, click New > File Upload, select the folder, and click Upload. In OneDrive, you have the option to import files directly from clouds like Google Drive and Dropbox. Just go to Settings > Import cloud photos and files, click the plus sign next to Connect to Google Drive or Connect to Dropbox, and follow the instructions. You’ll find the files in Files > Imports afterward. In Dropbox, click Upload (look below the search bar) and select either File, Folder, Import from Google Drive, or Import from Microsoft OneDrive. Afterward, follow the instructions to import your files.
You can also use a cloud transfer tool
You can also use a cloud transfer tool to transfer files from one service to another. One you can try is Air Explorer. While there’s a Pro version, the free version still allows for unlimited file transfers, but you can only link a maximum of two cloud services at a time. To transfer files from one cloud service to another in Air Explorer, follow the steps below:
-
Open Air Explorer.
-
Select the Accounts tab.
-
In the left panel, click Add account.
-
Select your old cloud service you want to connect to.
-
Follow the steps to connect to it.
-
Repeat steps two and three in the right panel to connect the new cloud service.
-
Select the Explore tab. You’ll see two panels with the list of cloud services you’ve connected.
-
In the left panel, select the cloud service you’re switching from.
-
In the right panel, select the cloud service you’re switching to.
-
Select the files or folders you want to transfer in the left panel.
-
Drag and drop them into the right panel.